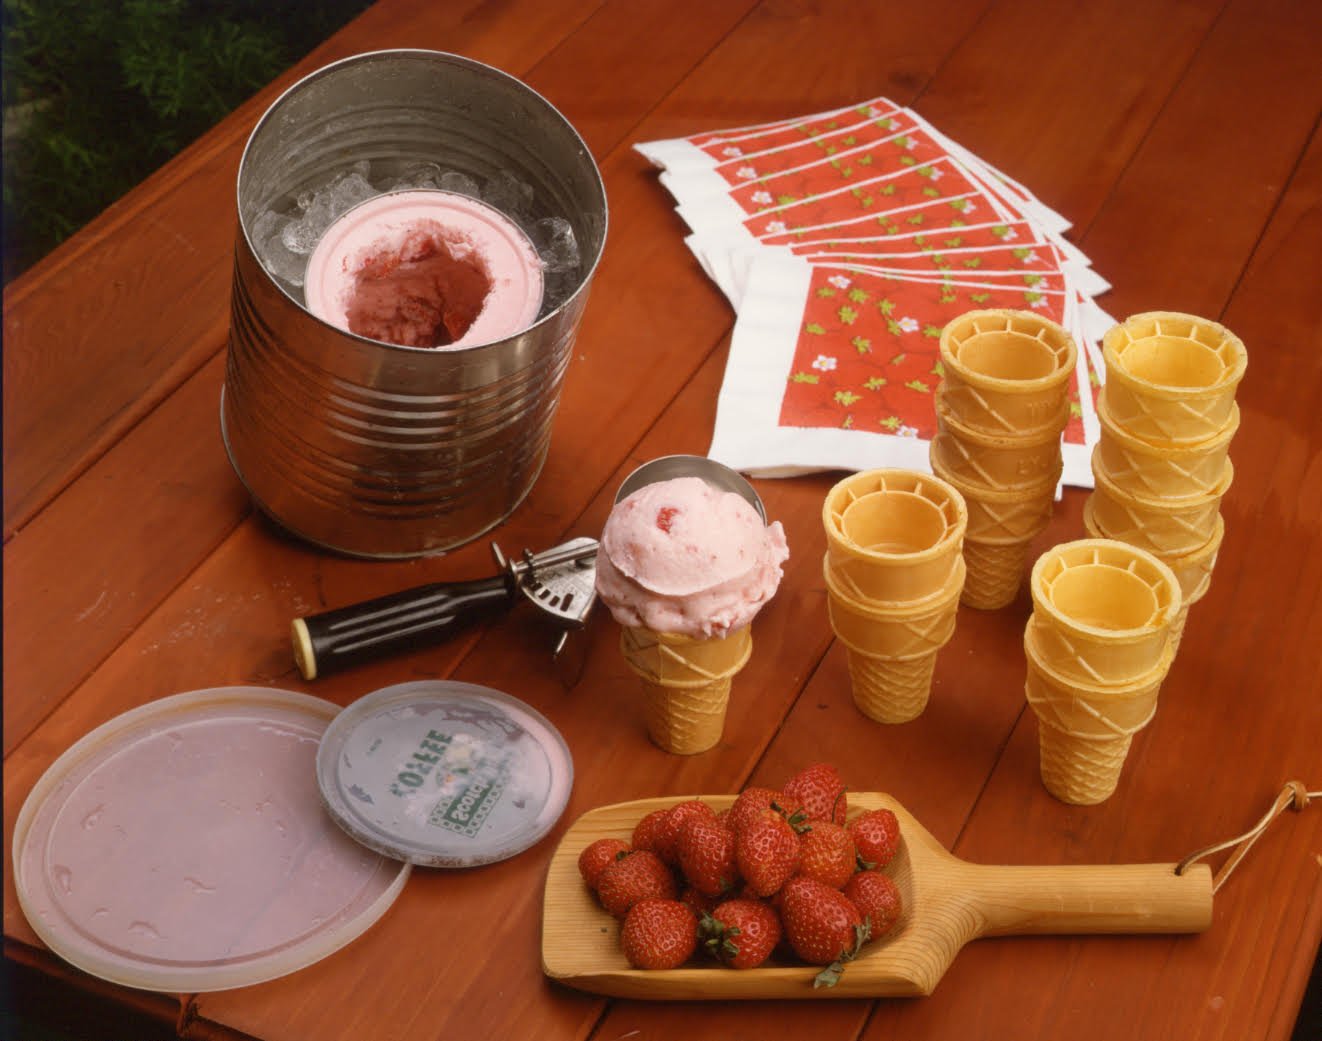
“Ice cream in a tin can” is my most requested recipe. Home-made ice cream is always the most refreshing dessert, and making it outdoors provides both recreation and a cool, memorable treat. It also creates lifetime memories of fun.
- 1 (1-pound) coffee can with plastic lid
- 1 cup whole milk
- 1 cup heavy cream
- 1/3 cup sugar
- 2 tablespoons flavored syrup (such as chocolate or strawberry)
- 1 (3-pound) coffee can with plastic lid or a #10-size can, such as a potato
- flake can with plastic lid
- 1 Small bag ice, cubed (not crushed)
- 1/2 cup rock salt

In the small can, add milk, cream, sugar and syrup. Do not fill the can more than half full with liquids or the ice cream will not freeze as well. Cover the small can with a plastic lid and place it into the large can. Fill the bottom half of the space between the two cans with ice. Add rock salt. Fill the rest of the space with ice and put on the plastic lid.
Ask two people to roll the can back and forth to each other for 10 minutes. (You might want to set a timer because small children have little concept of time.) Remove the lids and scrape the ice cream from the sides of the small can. Stir the mixture. If the ice cream needs to freeze longer, pour water out of the large can. Set the small can inside the large can, adding more ice and rock salt as needed. When the ice cream is ready, there will be about a half inch of frozen mixture on the sides of the can, the rest still in near-liquid form. With a kitchen knife scrape down the frozen ice cream and stir it into the liquid ice cream to create the right consistency. Makes about 2 cups.
• Chopped frozen fruit may be added with the syrup if desired. It also speeds freezing.


